 Save
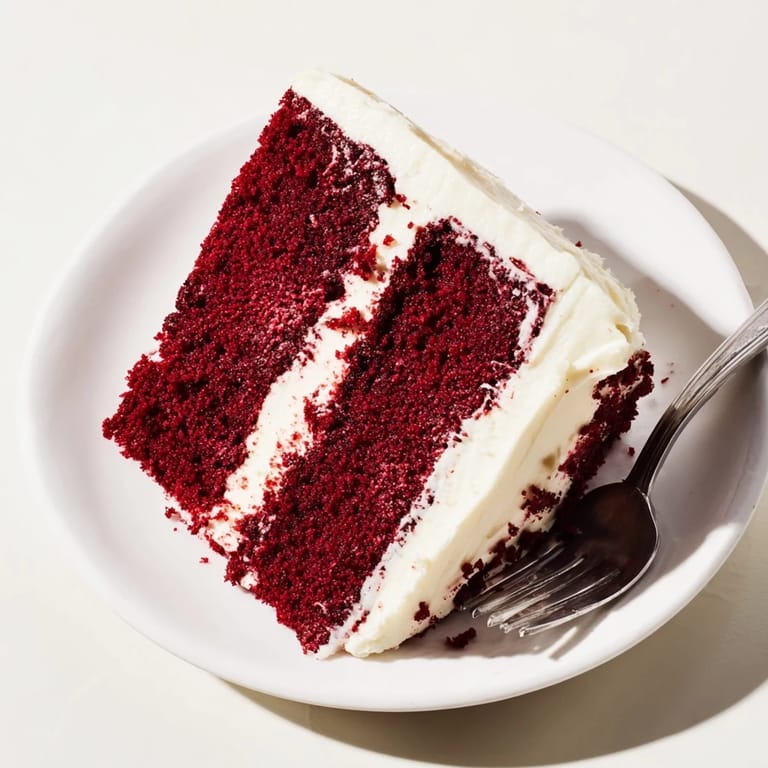
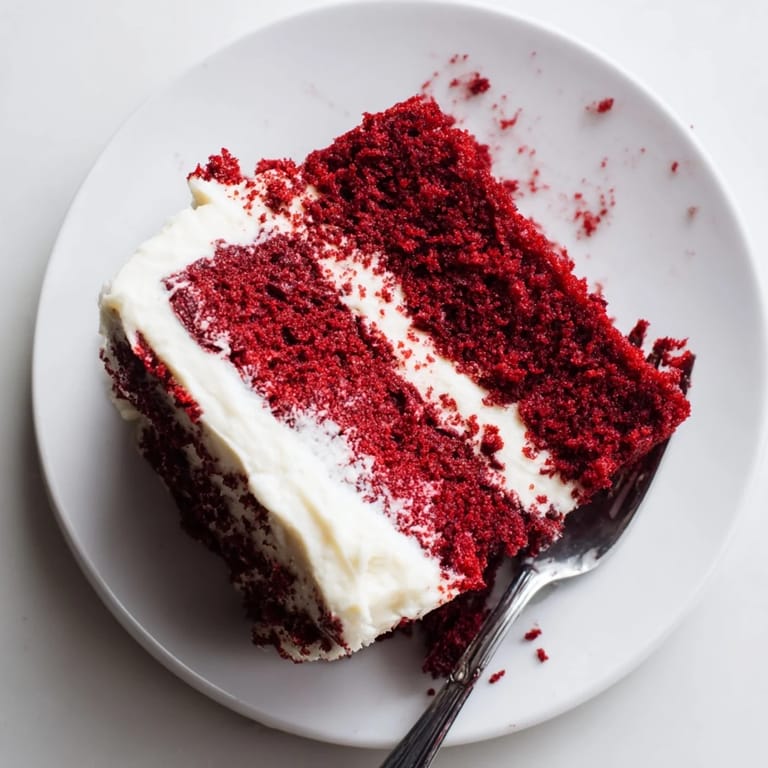
Save The first red velvet cake I ever made turned out pink instead of that dramatic crimson I was expecting. My grandmother just laughed and said it would taste just as sweet, but I learned that day that gel food coloring was going to be my new best friend. Now every time I see that unmistakable deep red against stark white cream cheese frosting, I think of how colors can make something taste even better just by setting the right expectations.
I made this cake for my sisters birthday last year, and she actually stopped mid conversation after her first bite. That moment when someone closes their eyes because something tastes that good, thats the whole reason I fell in love with baking in the first place.
Ingredients
- Allpurpose flour: The structure that holds everything together, so measure accurately
- Unsweetened cocoa powder: Just enough to give depth without overpowering the delicate flavor
- Baking soda: Works with the vinegar to create that signature velvety rise
- Granulated sugar: Sweetens and tenderizes, so do not reduce this amount
- Unsalted butter: Room temperature is nonnegotiable for proper creaming
- Large eggs: Also need to be room temperature for even incorporation
- Buttermilk: The secret ingredient that creates tenderness and subtle tang
- Vanilla extract: Pure extract makes a noticeable difference here
- White vinegar: Activates the baking soda and enhances the red color
- Red food coloring: Gel coloring gives the most vibrant results
- Cream cheese: Full fat and completely softened prevents lumps
- Powdered sugar: Sifting first saves you from a frosting full of lumps
Tired of Takeout? 🥡
Get 10 meals you can make faster than delivery arrives. Seriously.
One email. No spam. Unsubscribe anytime.
Instructions
- Preheat and prep your pans:
- Heat oven to 350°F and grease two 9-inch round pans thoroughly, then dust with flour for guaranteed release
- Sift the dry ingredients:
- Combine flour, cocoa powder, baking soda, and salt in a medium bowl, then set aside
- Cream the butter and sugar:
- Beat sugar and softened butter until the mixture turns pale and fluffy, about 3 to 5 minutes
- Add the eggs and flavorings:
- Add eggs one at a time, then mix in oil, vanilla, and vinegar until combined
- Prepare your red mixture:
- Whisk buttermilk and food coloring in a small bowl until evenly distributed
- Combine wet and dry:
- Add dry ingredients in three parts, alternating with buttermilk mixture, mixing only until just combined
- Bake until perfect:
- Divide batter between pans and bake 28 to 30 minutes until a toothpick comes out clean
- Cool completely:
- Let cakes rest in pans 10 minutes before turning onto wire racks to cool fully
- Make the frosting:
- Beat softened cream cheese and butter until smooth, then gradually add sifted powdered sugar, vanilla, and salt
- Frost and assemble:
- Spread frosting between layers, then cover top and sides, swirling for a rustic finish
 Save
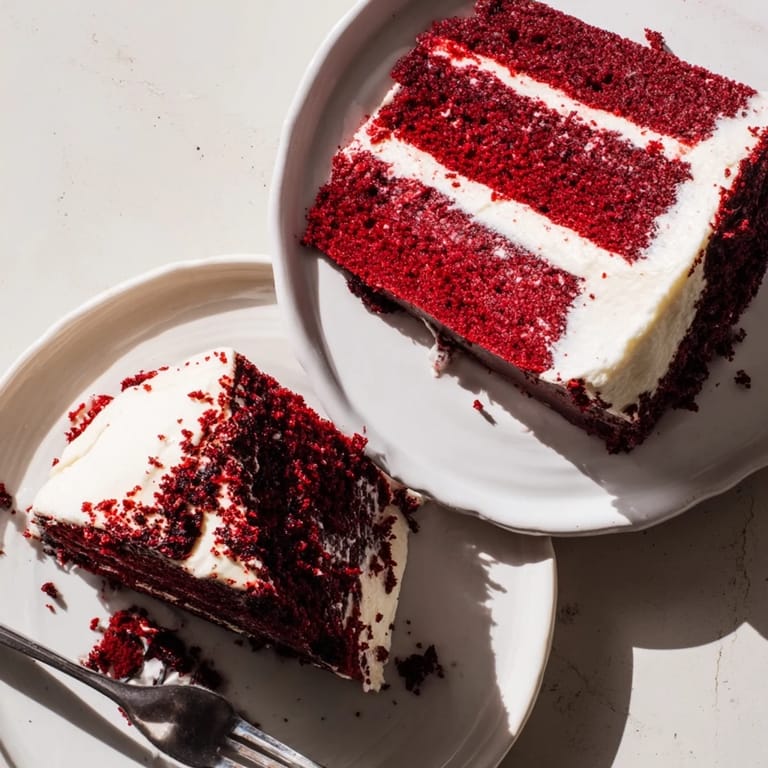
Save This cake has become my go-to for celebrations because it makes people pause and savor. Something about that combination of flavors just feels like a special occasion, even on a random Tuesday.
Getting That Perfect Red Color
Liquid food coloring can sometimes give you more of a pinkish red, especially if your batter has any yellow undertones from the butter and eggs. Gel coloring is more concentrated and gives you that true restaurant style crimson without adding extra liquid to your batter, which could throw off the carefully balanced chemistry of the cake.
Room Temperature Ingredients Matter
Cold ingredients create a curdled, lumpy batter that never quite bakes up as light as it should. I learned this the hard way when I tried to rush a cake once and ended up with something dense and sad. Set out your butter, eggs, and cream cheese at least an hour before you start baking, or give cold butter quick 10 second bursts in the microwave until it yields to gentle pressure.
Frosting Like A Pro
Start with a thin layer of frosting all over the cake called a crumb coat, then chill for 15 minutes before adding your final layer. This traps any loose crumbs and gives you that perfectly smooth, professional looking finish.
- Run your spatula under hot water for extra smooth swipes
- Add a tablespoon of heavy cream if frosting feels too stiff
- Press cake crumbs into the sides for a classic bakery look
 Save
Save Every slice of this cake feels like a little celebration, no matter the occasion. Hope it becomes one of your most requested recipes too.
Recipe FAQs
- → What gives red velvet its distinctive flavor?
The unique taste comes from the subtle combination of cocoa powder, buttermilk, and a touch of vinegar. This creates a slight tang that perfectly balances the sweetness and gives the cake its signature velvety texture.
- → Can I make this ahead of time?
Yes! The cake layers can be baked and frozen for up to 3 months. The frosted cake keeps beautifully in the refrigerator for up to 5 days. Bring to room temperature before serving for the best texture and flavor.
- → Why is my cake not red enough?
The traditional method uses acid and cocoa to create a natural reddish tint, but modern versions rely on food coloring. For deeper, more vibrant color, use gel food coloring instead of liquid, as it's more concentrated and won't thin your batter.
- → What's the secret to the perfect cream cheese frosting?
Ensure both cream cheese and butter are completely softened before mixing to avoid lumps. Beat until thoroughly smooth before adding powdered sugar gradually. Room temperature frosting spreads more easily and creates a smoother finish.
- → Can I substitute buttermilk?
You can make a quick buttermilk substitute by mixing 1 cup of milk with 1 tablespoon of white vinegar or lemon juice. Let it sit for 5-10 minutes until it thickens and curdles slightly before using in your batter.