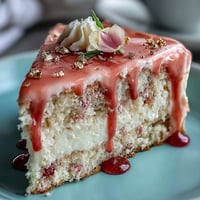
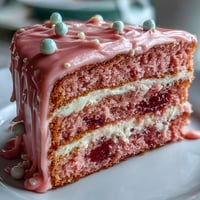
 Save
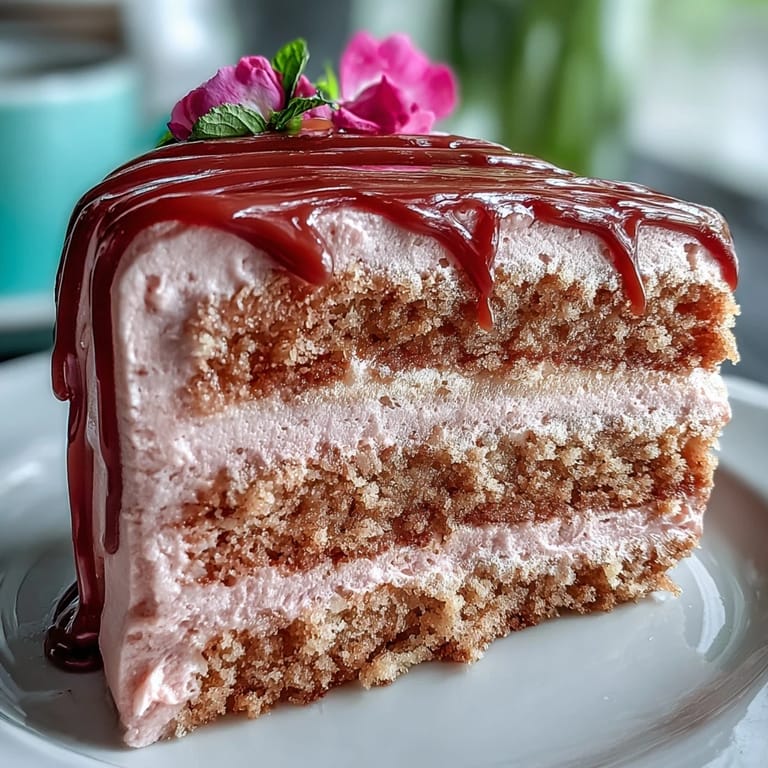
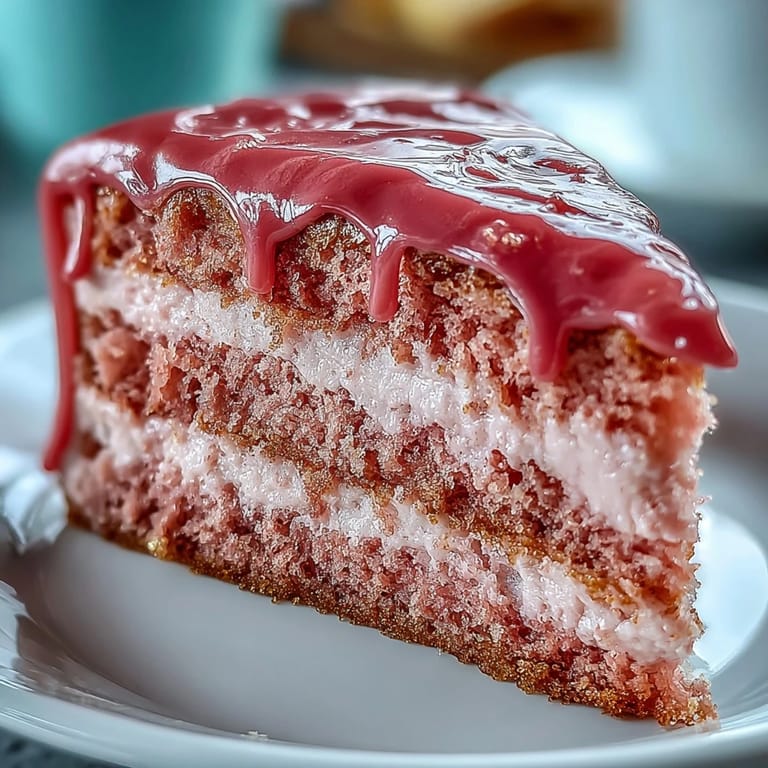
Save The first time I decided to bake a cake for a friend's bridal shower, I was both excited and a little terrified. I had this dream of creating a stunning blush-pink velvet cake that would not only taste divine but also look like a work of art. As the mixer whirred away, the sweet scent of sugar and butter filled the kitchen, and I could hardly contain my anticipation. The moment those layers emerged from the oven, perfectly round and just the right shade of pink, I felt like a true baking magician. It's amazing how a bit of flour, sugar, and love can transform a simple gathering into something unforgettable.
I vividly remember sharing this cake with friends on a sunny afternoon, the kind of day when laughter and joy wrap around you like a warm blanket. The first slice was met with gasps of delight, and I felt a swell of pride as everyone gathered around the cake, phones out, capturing the moment. It was more than just cake; it was a symbol of friendship, love, and new beginnings. Each bite was a slice of happiness, and that moment reminded me why I love baking for others.
Ingredients
- All-purpose flour: The foundation of any great cake, giving it structure and a soft crumb.
- Granulated sugar: Sweetness is key, and it helps create that fluffy texture when creamed with butter.
- Baking soda and baking powder: These leavening agents ensure your cake rises beautifully.
- Unsweetened cocoa powder: Adds a subtle depth to the flavor without overpowering the rosé.
- Rosé wine: Infuses a delicate flavor and gives the cake its signature blush.
- Buttermilk: Moisture is essential for a tender cake, and buttermilk does the job perfectly.
- Pink food coloring gel: A little color goes a long way, so add just enough to achieve that lovely hue.
Tired of Takeout? 🥡
Get 10 meals you can make faster than delivery arrives. Seriously.
One email. No spam. Unsubscribe anytime.
Instructions
- Preparing the oven and pans:
- Preheat your oven to 350°F (175°C) and take a moment to grease and line three 8-inch round cake pans with parchment paper. The smell of warm butter in the air already sets the stage for a delightful bake.
- Sifting the dry ingredients:
- In a medium bowl, sift together your flour, cocoa powder, baking soda, baking powder, and salt. This step isn’t just for aeration; it helps create a light, airy cake.
- Creaming the butter and sugar:
- Now, in a large mixing bowl, cream the softened butter and sugar until it’s light and fluffy, about three minutes. It should look pale and luscious, inviting you to dive in!
- Adding the eggs and flavors:
- Add the eggs one at a time, beating well after each addition, then stir in the vanilla extract. This is where the cake starts coming together, and the kitchen fills with the smell of sweet anticipation.
- Mixing in the wet ingredients:
- Slowly mix in the buttermilk, rosé wine, and vinegar, followed by the gradual addition of dry ingredients until just combined. Watch out for overmixing; we want it tender!
- Coloring your batter:
- Add pink food coloring gel, adjusting until your batter matches the perfect shade of a sunset. This step is where the magic happens, transforming a simple batter into something unique.
- Baking the cake:
- Divide the batter evenly among the prepared pans and bake for 30-35 minutes or until a toothpick inserted comes out clean. Enjoy the blissful aroma wafting through your home!
- Cooling the cakes:
- Allow the cakes to cool in their pans for 10 minutes before turning them out onto wire racks to cool completely. Patience is key here; the perfect frosting requires a cool canvas!
- Making the frosting:
- In a mixing bowl, beat together the softened butter and cream cheese until smooth, then gradually add the sifted powdered sugar, followed by the rosé wine, vanilla extract, and salt until fluffy. It should be a creamy dream ready for layering.
- Assembling the cake:
- If needed, level your cake layers and place the first one on a cake stand. Spread a generous layer of frosting on top, then repeat until all layers are stacked.
- Crumb coating:
- Cover the entire cake with a thin layer of frosting known as a crumb coat, then chill it for 30 minutes to set. This little trick keeps the crumbs at bay!
- Preparing the gold drip:
- For the gold drip, melt white chocolate and heavy cream in a microwave-safe bowl, stirring until smooth, and cool to room temperature. This will add that luxurious touch we all love!
- Cascading the gold:
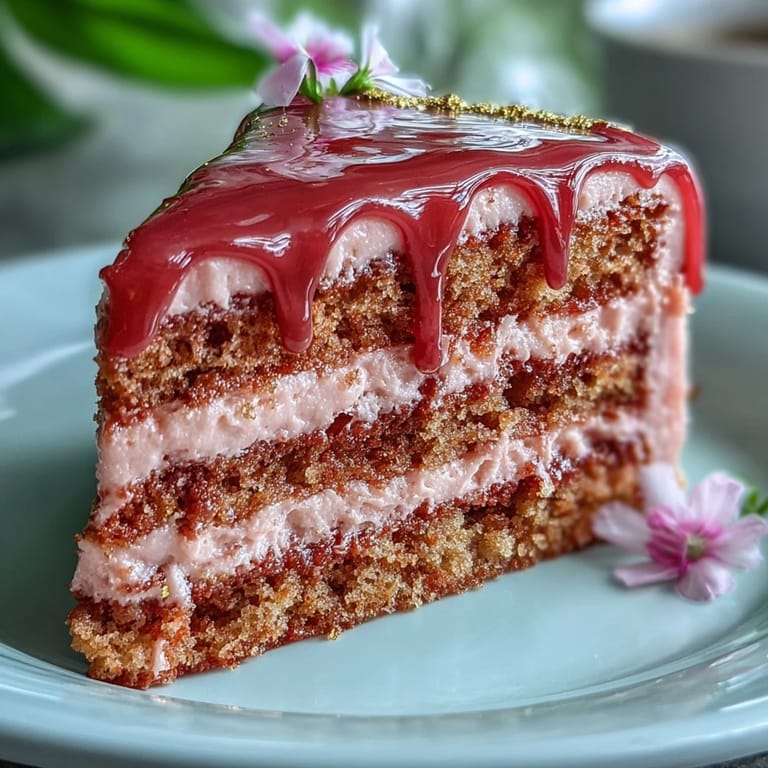
- Drip the cooled chocolate mixture over the edges of the cake, using a spoon to guide it just right. The golden sheen transforms the cake from lovely to utterly gorgeous!
- Painting with gold:
- Mix your gold luster dust with a touch of vodka or clear extract to create a paint, and gently brush it onto the chocolate drip with a clean brush. This detail will wow your guests!
- Chilling before serving:
- Finally, chill the cake for at least 30 minutes before slicing into it. Trust me; the wait will be worth it when you serve up those beautiful slices.
 Save
Save This cake isn’t just a delight for the taste buds; it often brings people closer together. I've seen friends linger over slices, laughing and sharing stories, turning an ordinary afternoon into something memorable. Watching them enjoy it reminded me of how a lovingly made dish can nourish not just the body, but the spirit too.
Baking Magic Moments
Every time I bake this cake, I’m reminded of how the kitchen is truly the heart of the home. It’s during these moments that conversations blossom and memories are made, turning flour and sugar into cherished memories.
Dress It Up!
Decorating this cake can be a creative venture. Add fresh flowers, sprigs of mint, or even fruit to complement the elegant gold drip!
Serving Suggestions
This cake pairs beautifully with a light rosé or sparkling water for an upscale feel!
- Consider serving it with vanilla ice cream for an extra indulgent treat.
- Don't forget to have extra rosé on hand—it’s perfect for toasting!
- Keep some cake aside for the next day; it tastes even better when the flavors meld!
 Save
Save Every time I make this Rosé Velvet Cake, it brings joy and celebration to my kitchen and the hearts of those I share it with. May it do the same for you and your loved ones!
Recipe FAQs
- → Can I make this cake in advance?
Yes, you can bake the cake layers a day ahead. Just wrap them tightly in plastic and store them in the refrigerator until you’re ready to frost and assemble.
- → What if I want a non-alcoholic version?
For a non-alcoholic option, substitute the rosé wine with sparkling grape juice to maintain the flavor without the alcohol.
- → How can I achieve the blush color?
Add pink food coloring gel gradually until the desired shade is reached—it’s best to start with a small amount and test as you go.
- → Can I use a different frosting?
Absolutely! You can swap the cream cheese frosting with a traditional buttercream or whipped cream for a different flavor profile.
- → Is there a gluten-free alternative?
For a gluten-free version, use a gluten-free all-purpose flour blend that measures cup-for-cup like regular flour.