 Save
Save The first time I made this no-bake key lime pie, it was a balmy summer evening. The sun was starting to set, casting a golden hue across my kitchen, and I could already picture my friends gathered around the patio, ready to savor a slice of something refreshing. As I juiced the key limes, their tangy aroma filled the air, mingling with the sweetness of the whipped cream. It was one of those moments where I felt completely at peace, knowing a delightful treat was on its way. This pie has since become a staple at our summer gatherings, each bite bursting with creamy goodness.
Ingredients
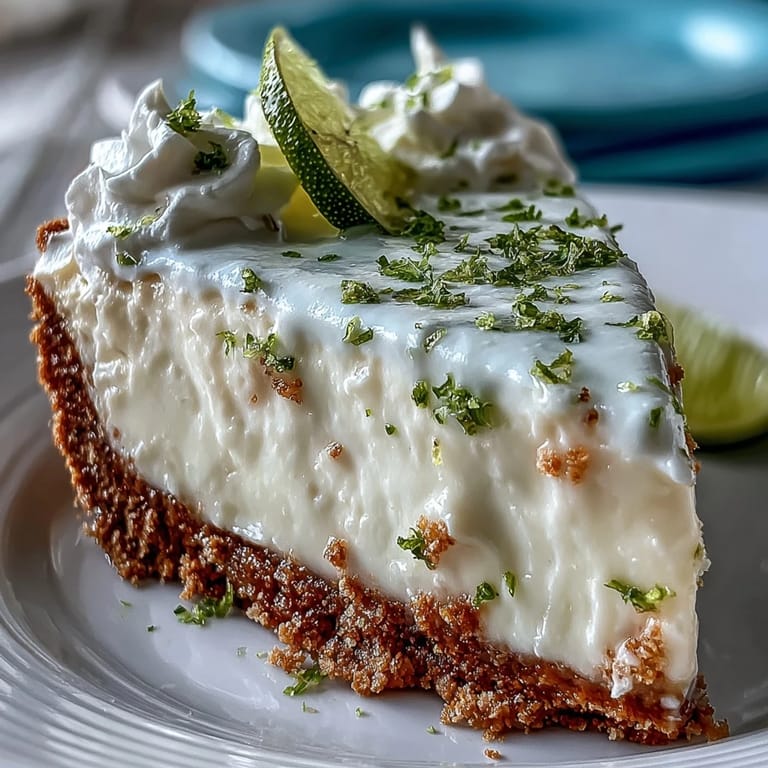
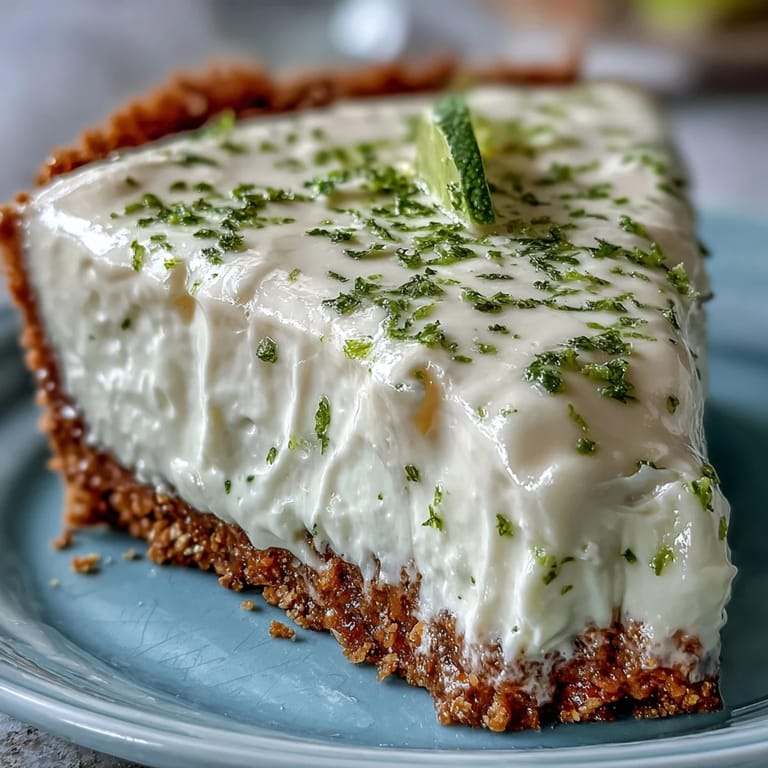
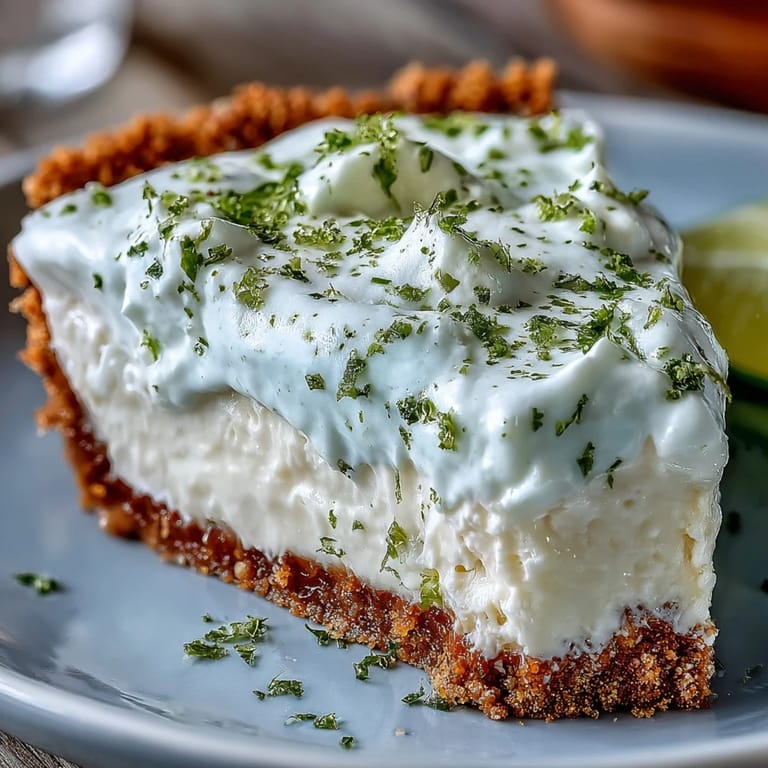
- Graham Cracker Crust: This forms the crunchy, sweet base that contrasts beautifully with the creamy filling. Using melted butter ensures it holds together perfectly.
- Key Lime Filling: Sweetened condensed milk makes this filling rich and luscious, while the key lime juice brings that signature tang. Fresh lime zest is optional but adds an incredible depth of flavor.
- Topping: Whipped cream not only looks inviting but adds a lightness to the pie. A sprinkle of extra lime zest or slices elevates the presentation.
Instructions
Tired of Takeout? 🥡
Get 10 meals you can make faster than delivery arrives. Seriously.
One email. No spam. Unsubscribe anytime.
- Prepare the crust:
- In a medium bowl, combine graham cracker crumbs and sugar, mixing well. Stir in the melted butter until the mixture resembles damp sand before pressing it firmly into a 9-inch pie dish.
- Chill the crust:
- Place the crust in the freezer for 15 minutes to set while you prepare the filling. This step is key to achieving a stable base.
- Mix the filling:
- In a large bowl, whisk together sweetened condensed milk, key lime juice, and lime zest until smooth. The vibrant color and aroma at this stage are simply inviting.
- Whip the cream:
- In a separate bowl, whip the heavy cream with powdered sugar and vanilla extract until stiff peaks form. It’s satisfying watching this transform from liquid to fluffy clouds!
- Combine gently:
- Gently fold the whipped cream into the key lime mixture until fully incorporated. Be careful not to deflate that airy goodness you just created!
- Fill the crust:
- Spoon the filling into the chilled crust and smooth the top for a neat finish. This is where your patience pays off.
- Chill again:
- Cover the pie with plastic wrap and refrigerate for at least 4 hours or until set. Letting it chill allows the flavors to meld beautifully.
- Garnish and serve:
- Before serving, garnish with whipped cream and sprinkle on extra lime zest or slices for that finishing touch. Everyone will appreciate the effort!
 Save
Save 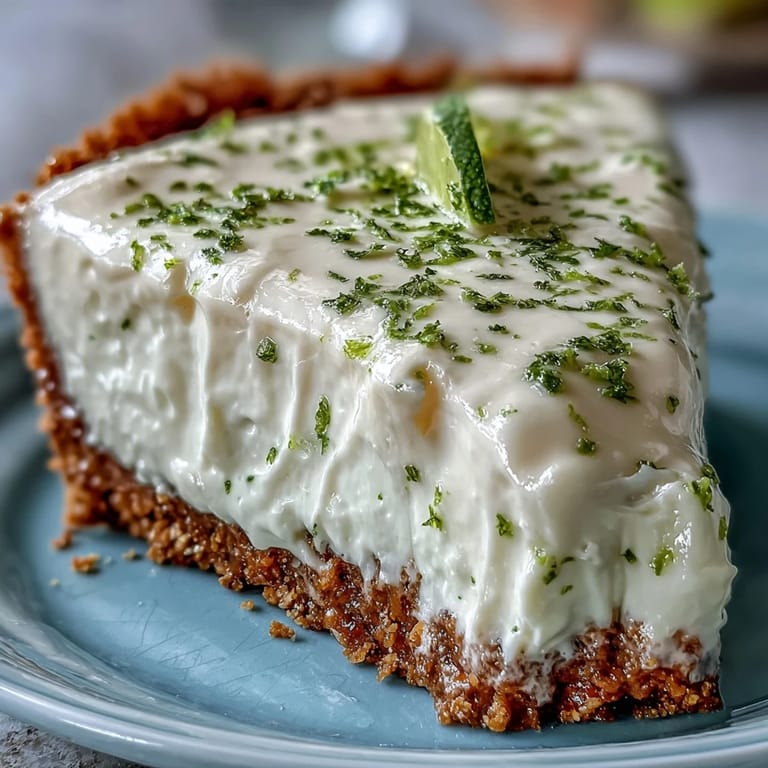 Save
Save This pie isn’t just a dessert; it’s a reason to gather, to share stories, and to create lasting memories with loved ones around the table. Each slice serves as a reminder that sometimes, the simplest pleasures bring the most joy.
Fun Variations
If you want to switch things up, consider trying a chocolate or vanilla wafer crust for a twist that complements the filling. A splash of coconut cream in the filling adds a tropical flair that's sure to impress. And if you're feeling adventurous, toss in some fresh berries for a fun flavor contrast.
Tips for a Perfect Pie
Precision in the chilling times is essential for the best texture. The pie can easily lose its shape if not set properly after refrigeration.
- Remember, quality ingredients make all the difference; opt for the best vanilla extract you can find.
- The crust can even be made a day ahead to save time.
- Always keep your ingredients cold before mixing; it contributes to a fluffier filling.
 Save
Save  Save
Save As you bring this pie to life, remember to enjoy the process—it's all about creating delicious moments together.
Recipe FAQs
- → Can I use regular lime instead of key lime?
Yes, regular lime juice can be used if key limes are unavailable, though the flavor will differ slightly.
- → How long does this pie keep in the fridge?
The pie can be made 1-2 days ahead and kept refrigerated, making it a convenient option for events.
- → Is it possible to use a different crust?
Absolutely! For a twist, you can try a chocolate or vanilla wafer crust as an alternative to graham crackers.
- → What tools do I need to make this pie?
You will need a 9-inch pie dish, mixing bowls, a whisk or hand mixer, measuring cups and spoons, and a rubber spatula.
- → Are there any allergens in this dessert?
This dessert contains dairy and wheat. Be sure to check labels for gluten-free options if needed.